Glowing, healthy skin doesn’t have to mean expensive appointments or complicated routines. If you’re searching for practical, effective ways to elevate your skincare game, you’re likely looking for guidance that actually works in real life—not just in theory. This article delivers exactly that.
We break down proven at home facial tips that help improve texture, boost radiance, and support long-term skin health using methods rooted in holistic beauty principles and advanced skincare knowledge. From prepping your skin properly to maximizing the impact of serums and masks, every step is designed to give you visible results without overwhelming your routine.
Our approach combines insight-driven skincare strategies, formulation awareness, and everyday beauty hacks that are both accessible and results-focused. Whether you’re building a foundational routine or refining what you already do, you’ll find clear, practical guidance to help you achieve a lasting, healthy glow from the comfort of your home.
Unlock Your Inner Glow: The At-Home Facial Blueprint
Forget quick masks. A facial is a system, not a single product. Most guides skip prep and aftercare; that’s where results live.
• Cleanse twice to remove oil and pollution.
• Exfoliate gently to lift dead cells.
• Steam for five minutes to soften pores.
• Treat with a targeted serum.
• Seal with moisturizer and SPF.
Dermatologists note routines improve barrier function (American Academy of Dermatology). Some argue spa tools are essential. Not true. Precision and patience win. Follow these at home facial tips and track skin changes weekly for radiance.
The Foundation: Prepping Your Skin and Space for a True Spa Experience
Create the Ambiance
Start by setting the mood. Dim the lights, light a subtle candle, and play calming music (instrumentals work best—think spa playlist, not workout mix). A clean, clutter-free space lowers cortisol, the stress hormone that can trigger breakouts and dullness (American Academy of Dermatology). Lay out fresh towels, tie back your hair with a soft headband, and silence notifications. This isn’t extra—it’s essential.
Gather Your Tools
You don’t need fancy gadgets. Grab soft towels, cotton pads, two small bowls, and a gentle cleansing brush (optional). Clean tools prevent bacteria transfer, which helps avoid irritation and clogged pores. Pro tip: run tools under hot water and let them air dry before starting.
The Crucial First Step – The Double Cleanse
First, massage an oil-based cleanser onto dry skin to dissolve makeup and SPF. Rinse. Follow with a water-based cleanser to remove sweat and residue. This two-step method creates a pristine canvas—one of the most overlooked at home facial tips for a real glow.
The 5 Core Steps to a Flawless DIY Facial
A great facial isn’t about fancy tools or spa-only products. It’s about sequence, technique, and intention. Let’s break it down step by step so nothing feels confusing or overwhelming.
Step 1: Gentle Exfoliation to Reveal Fresh Skin
Exfoliation means removing dead skin cells from the surface so newer, brighter skin can show through. There are two main types:
- Physical exfoliants: These manually buff away buildup. Try a simple oatmeal and honey scrub. Oatmeal lightly polishes while honey soothes.
- Chemical exfoliants: These use natural acids or enzymes to dissolve dead cells. A mask with papaya enzymes is a gentle option.
Important: more pressure doesn’t mean better results. Over-scrubbing can damage your skin barrier (the protective outer layer that keeps moisture in and irritants out). Think gentle polish, not sanding a table (your face is not a DIY furniture project).
Step 2: The Art of Facial Steaming
Steaming softens debris inside pores and increases circulation. It doesn’t “open” pores permanently (that’s a myth), but it makes them more receptive to cleansing.
To do it safely:
- Boil water and pour into a bowl.
- Let it cool slightly.
- Drape a towel over your head and lean in for 5–8 minutes.
Add chamomile for a calming effect. This step enhances product absorption, meaning treatments applied afterward work more effectively.
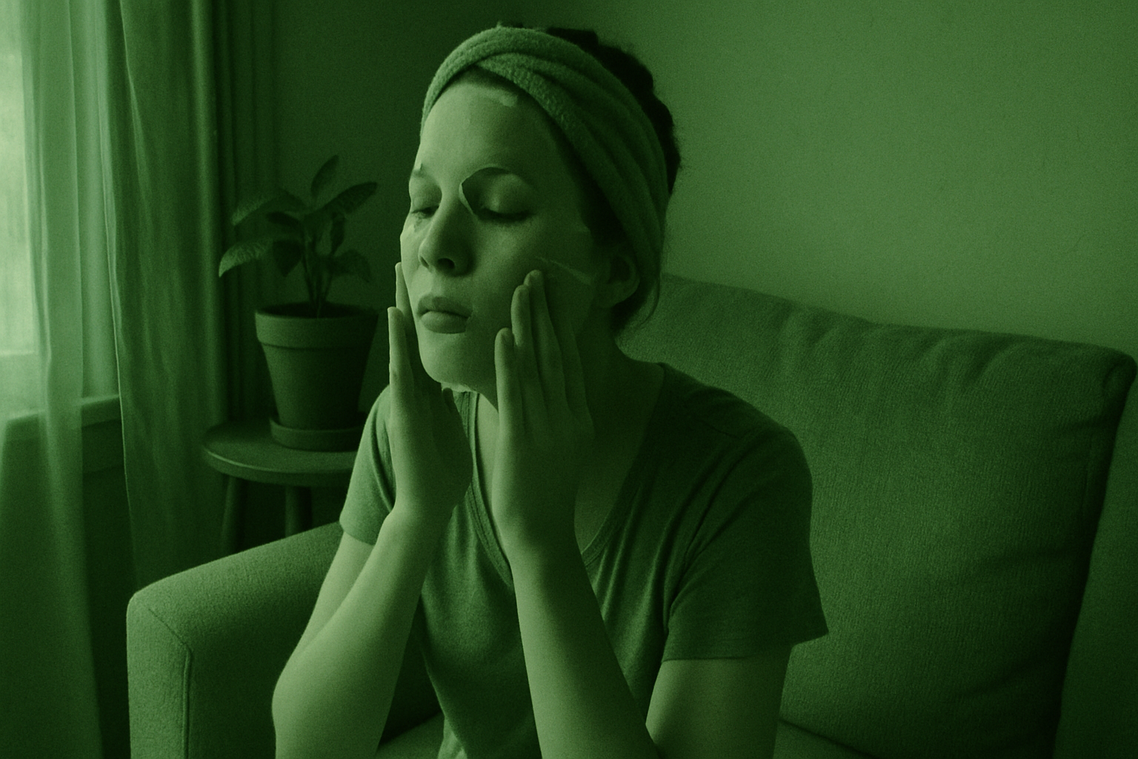
Step 3: Targeted Treatment with a Potent Mask
This is where you personalize. Dry skin? Use a hydrating mask with aloe or hyaluronic acid (a molecule that binds water to the skin). Oily skin? Try clay to absorb excess sebum (natural skin oil). Dullness? Reach for vitamin C.
This step addresses specific concerns and ties together many popular at home facial tips into one focused treatment.
Step 4: The Power of Facial Massage
Here’s your pro-level move. Spend three minutes using upward strokes along the jawline, cheeks, and forehead. This boosts circulation and supports lymphatic drainage (your body’s waste-removal system).
Upward motions create a subtly sculpted look over time. Think of it as a mini workout for your face.
Step 5: Hydrate, Nourish, and Protect
Apply a hydrating serum like hyaluronic acid first. Follow with moisturizer to seal it in. If it’s daytime, finish with SPF. Protection isn’t optional—UV exposure is the top cause of premature aging, according to the American Academy of Dermatology.
Consistency, not complexity, creates glow. And if you’re refining your overall routine, explore quick hair fixes for frizz flatness and flyaways to complement your skincare results.
Kitchen Cosmetics: 3 Potent DIY Mask Recipes for Every Skin Type
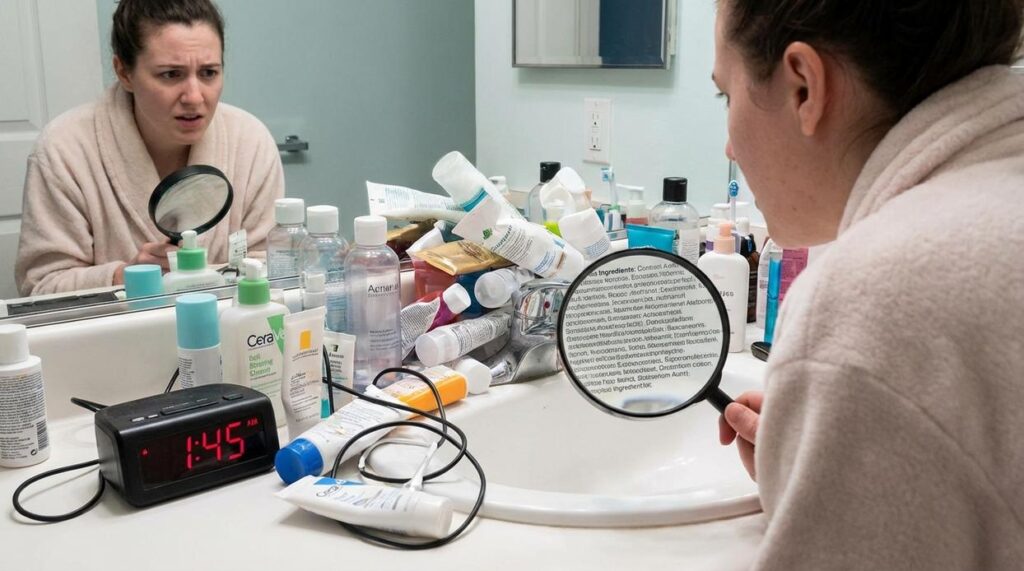
Ever spend money on a mask that promises a “glow-up” and delivers… nothing? Or worse, a breakout? You’re not alone. Between confusing labels and one-size-fits-all formulas, skincare can feel like a guessing game. So instead, let’s open the fridge.
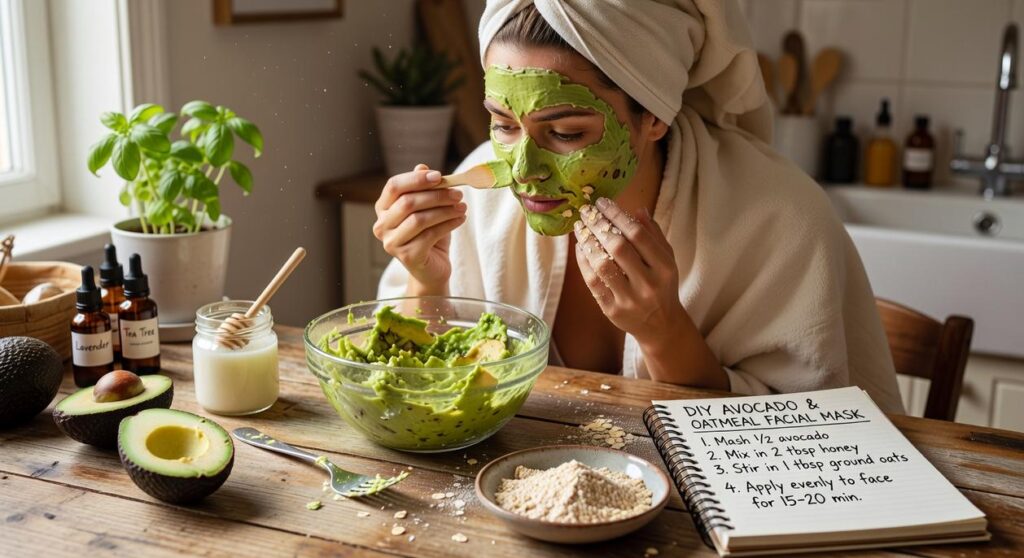
For Dry or Dehydrated Skin – The Avocado & Honey Hydrator
Recipe: Mash ½ ripe avocado, mix with 1 tablespoon honey, and add 1 drop olive oil.
Avocado is rich in healthy fats (lipids that reinforce your skin barrier), which help reduce water loss. Honey is a humectant—meaning it draws moisture into the skin (think of it as a tiny sponge). Olive oil adds extra emollients, sealing everything in. If your skin feels tight five minutes after cleansing, this is your rescue mask.
For Oily or Acne-Prone Skin – The Clay & Tea Tree Purifier
Recipe: Mix 1 tablespoon bentonite clay with water or apple cider vinegar to form a paste. Add 2–3 drops tea tree oil.
Bentonite clay is known for its detoxifying ability—it binds to excess oil and impurities. Tea tree oil offers antibacterial properties, which may help reduce acne-causing bacteria (Carson et al., 2006). Yes, clay masks can feel intense (you’ll resemble a Marvel extra), but they’re effective when used weekly.
For Dull or Uneven Skin – The Yogurt & Turmeric Brightener
Recipe: Combine 1 tablespoon plain yogurt, a pinch of turmeric, and a few drops lemon juice.
Yogurt contains lactic acid, a gentle exfoliant that removes dead skin cells. Turmeric delivers antioxidants, helping combat oxidative stress, while lemon adds mild brightening support. If lackluster skin is your main frustration, this blend revives tone naturally.
Sometimes the best at home facial tips are already in your kitchen.
Common Mistakes to Avoid for a Perfect At-Home Facial
Great results start with what you skip. Avoid these missteps to protect your glow and maximize benefits:
- Over-exfoliating irritates skin and weakens barriers.
- Hot water strips natural oils; choose lukewarm instead.
- Don’t forget neck and décolleté.
Use at home facial tips.
Your glow doesn’t have to fade after one good session. Now that you’ve built a full routine, consistency is everything. Instead of splurging on occasional spa visits, commit to a weekly ritual at home. Start with gentle cleansing, exfoliate lightly, then layer targeted serums before sealing with moisturizer. For example, set a Sunday evening reminder and treat it like an appointment. Over time, these small steps replace costly, infrequent treatments with steady results. Keep simple at home facial tips visible on mirror for accountability. Finally, protect progress daily with SPF. Schedule your first session this weekend and make it non-negotiable.
Your Glow Starts at Home
You came here looking for real, practical ways to elevate your skincare routine without wasting time or money—and now you have them. With the right at home facial tips, smarter product layering, and glow-focused techniques, you can finally stop guessing and start seeing visible results.
Dull skin, breakouts, uneven texture, and makeup that won’t sit right all stem from the same pain point: an inconsistent foundation. When your base isn’t healthy, nothing else works the way it should. But now you understand how to build that foundation with intention.
The key is consistency. Apply what you’ve learned, refine your routine, and pay attention to how your skin responds. Small adjustments create lasting radiance.
If you’re ready to stop struggling with stubborn skin issues and start seeing a smoother, brighter glow, take the next step today. Explore our proven beauty strategies trusted by thousands of glow-seekers who rely on our top-rated insights for real results. Don’t wait for better skin—start your transformation now.
 Head of Skincare Research & Development
Olivia McKeendonic writes the kind of advanced makeup formulations content that people actually send to each other. Not because it's flashy or controversial, but because it's the sort of thing where you read it and immediately think of three people who need to see it. Olivia has a talent for identifying the questions that a lot of people have but haven't quite figured out how to articulate yet — and then answering them properly.
They covers a lot of ground: Advanced Makeup Formulations, Everyday Beauty Hacks, Expert Breakdowns, and plenty of adjacent territory that doesn't always get treated with the same seriousness. The consistency across all of it is a certain kind of respect for the reader. Olivia doesn't assume people are stupid, and they doesn't assume they know everything either. They writes for someone who is genuinely trying to figure something out — because that's usually who's actually reading. That assumption shapes everything from how they structures an explanation to how much background they includes before getting to the point.
Beyond the practical stuff, there's something in Olivia's writing that reflects a real investment in the subject — not performed enthusiasm, but the kind of sustained interest that produces insight over time. They has been paying attention to advanced makeup formulations long enough that they notices things a more casual observer would miss. That depth shows up in the work in ways that are hard to fake.
Head of Skincare Research & Development
Olivia McKeendonic writes the kind of advanced makeup formulations content that people actually send to each other. Not because it's flashy or controversial, but because it's the sort of thing where you read it and immediately think of three people who need to see it. Olivia has a talent for identifying the questions that a lot of people have but haven't quite figured out how to articulate yet — and then answering them properly.
They covers a lot of ground: Advanced Makeup Formulations, Everyday Beauty Hacks, Expert Breakdowns, and plenty of adjacent territory that doesn't always get treated with the same seriousness. The consistency across all of it is a certain kind of respect for the reader. Olivia doesn't assume people are stupid, and they doesn't assume they know everything either. They writes for someone who is genuinely trying to figure something out — because that's usually who's actually reading. That assumption shapes everything from how they structures an explanation to how much background they includes before getting to the point.
Beyond the practical stuff, there's something in Olivia's writing that reflects a real investment in the subject — not performed enthusiasm, but the kind of sustained interest that produces insight over time. They has been paying attention to advanced makeup formulations long enough that they notices things a more casual observer would miss. That depth shows up in the work in ways that are hard to fake.