You’ve squeezed the tube. You’ve angled the nozzle. You’ve even held your breath.
And still (it’s) a mess.
Globs. Skips. Uneven lines.
That weird wobble no one talks about.
I’ve been there. More times than I care to admit.
The Higossis Brush changed that.
Not overnight. Not with magic. But after weeks of testing every angle, pressure, speed, and surface.
I found what actually works.
This isn’t just “how to hold it.” It’s how to own it.
How to get clean, consistent, pro-level results (every) single time.
I’ll show you the exact motions, the mistakes to skip, and why most people waste half their material before they realize they’re doing it wrong.
No theory. No fluff. Just what I learned by doing it.
Badly — then fixing it.
You’ll walk away knowing how to use this tool like someone who’s used it for years.
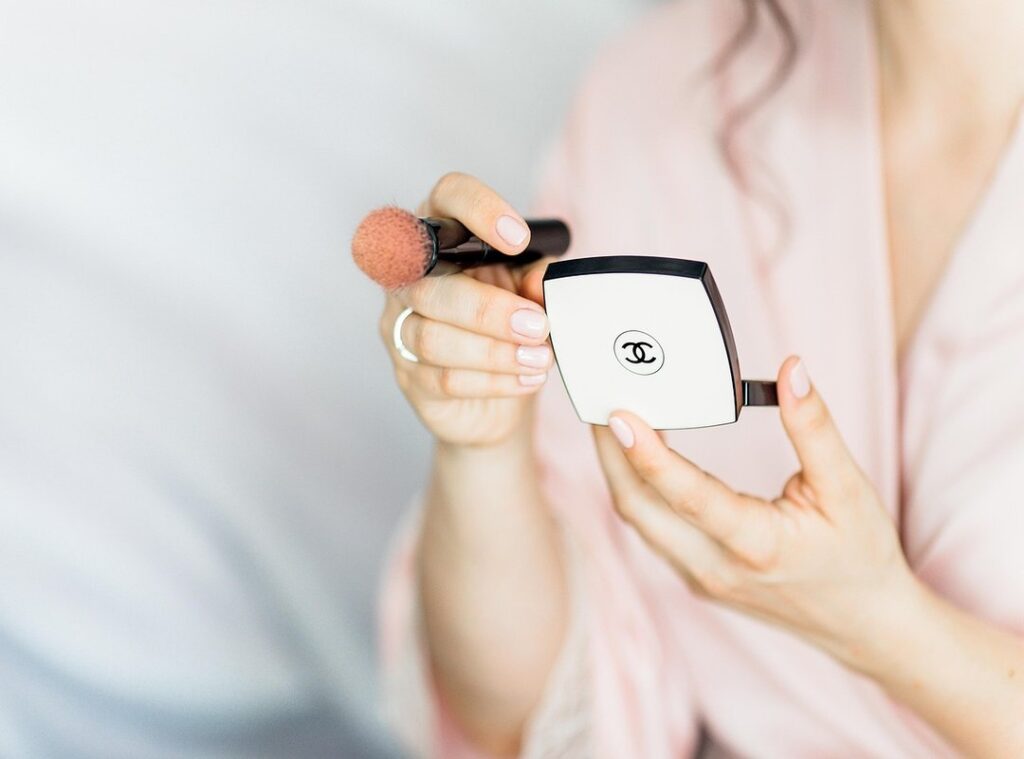
What Exactly Is the Higossis Applicator Tool?
It’s a handheld dispensing tool. Not a brush. Not a syringe.
A tool built to move thick, sticky stuff where you want it (and) only there.
The Higossis is what you reach for when squeeze bottles fail and brushes smear.
I’ve used it on epoxy, silicone, UV resin, and even hot glue that refused to behave. It works.
Ergonomic handle? Yes (it) fits your palm like a pen you actually want to hold for five minutes. (Unlike that cheap plastic thing you bought at the hardware store last year.)
Precision tip? Stainless steel. Swappable.
It doesn’t clog. It doesn’t bend. It delivers.
Loading mechanism? Twist-and-lock. No leaks.
No priming. You load it once and go.
Problem: Wasted product.
Solution: The tip dispenses only what you push. No dripping, no oozing, no guessing.
Problem: Messy edges. Solution: You control flow down to the millimeter. Stop mid-line.
Start again. No restart needed.
Problem: Fatigue from squeezing. Solution: Use. Your wrist does the work (not) your thumb.
This isn’t for everyone. It’s for people who hate redoing work. DIYers who’ve ruined three tiles trying to caulk cleanly.
Contractors who bill by the hour and won’t waste time wiping up mistakes. Crafters who need clean lines in resin art.
You know who you are.
If you’ve ever squeezed a tube until your hand cramped (and) still got uneven coverage (this) is your fix.
Higossis Brush is a misnomer. Don’t call it that. It’s not a brush.
It’s better.
How to Use the Thing Right: A No-BS Guide
I’ve ruined three surfaces because I rushed Step 1.
Don’t be me.
Prep is not optional. Wipe the surface with isopropyl alcohol. Let it dry. No lint.
No dust. No “I’ll just blow it off” nonsense. (You’re not a Jedi.
Your breath doesn’t count.)
Grab your tools: clean rag, gloves, and the Higossis Brush. Make sure the brush bristles are dry and untangled. If they’re stiff or gunky?
Toss it. Seriously.
Step 2: Loading.
You can read more about this in Higossis.
Squeeze product into the reservoir slowly. Not fast. Not aggressive.
You’re not trying to impress anyone. Stop when it’s ¾ full. Overfilling causes drips.
Drips ruin everything.
Twist the cap back on (but) don’t crank it. Hand-tight only. If you hear plastic groaning?
You went too far.
Step 3: The actual application.
Hold the tool at a 45-degree angle. Not 30. Not 60. Forty-five. Lean in just enough to feel contact (no) dragging, no hovering.
Apply light, even pressure. Think “touching a sleeping cat,” not “pressing a button.”
Move at walking speed. Not sprinting. Not crawling.
If your arm gets tired before you finish the line? You’re going too slow.
You’ll know it’s right when the bead looks uniform (not) thick in the middle, not thin at the ends.
Step 4: Finish and clean.
Stop moving before you lift. That tiny pause prevents tailing. Then lift straight up.
Now. Drop everything else.
Rinse the brush under warm water immediately. Not after lunch. Not after you check your phone. Now.
Use a soft toothbrush to work out residue between bristles. Air-dry flat. Never stand it upright while wet.
Water pools in the ferrule and loosens the glue.
I’ve replaced brushes because I skipped this step twice.
It takes 90 seconds. Do it.
Your next project will thank you.
And yes. That’s all there is. No magic.
No secret settings. Just prep, load, move, clean.
Common Mistakes to Avoid (And How to Fix Them)
I ruined three brushes before I figured this out.
Mistake #1: Applying too much product. I did it. You’ll do it.
That thick glop looks like it’ll cover everything. But it just cakes, clumps, and dries into a brittle shell. Less is more means less. Start with half what you think you need.
Build up only if you have to.
Mistake #2: Moving too quickly. Rushing makes lines wobble. Gaps appear.
You end up retracing instead of flowing. Slow down. Breathe.
Let the tool do the work. Not your wrist.
Mistake #3: Using the wrong tip. Not every tip fits every job. A fine liner won’t fill a broad stroke.
A flat tip won’t get into tight corners. Check the Higossis lineup before you start. Match tip shape to task (not) habit.
Mistake #4: Skipping post-use cleaning. Dried product inside the brush head? That’s permanent damage.
Not “maybe.” Not “eventually.” Permanent. Rinse under warm water. Squeeze gently.
Air-dry tip-down. Do it every time (even) when you’re tired.
You think skipping one clean-up won’t matter.
It will.
I’ve replaced two brushes because I was lazy on cleanup day.
Don’t be me.
The Higossis Brush isn’t magic. It’s precision. And precision needs respect.
Not speed, not force, not neglect.
Fix these four things.
Everything else gets easier.
Pro Tips That Actually Work
I’ve ruined more lines than I care to admit. So listen.
Use painter’s tape. Press it down hard. Then paint right up to the edge.
Peel it off while the paint is still wet. Not dry. Not tacky.
Wet. (Yes, timing matters.)
Tight corners? Flip the Higossis Brush sideways. Use the tip like a pencil.
You’ll get into spots no round brush touches.
Applicator tips get gummy fast. Rinse them in warm water immediately after use. No exceptions.
Even if you’re tired. Especially if you’re tired.
Here’s one nobody tells you: wipe the tip on a paper towel before dipping it again. Less drip. More control.
You want clean lines. You want speed. You want tools that don’t fight you.
That’s why I always go back to the basics. And skip the fluff.
You’re Done Overthinking It
That shaky hand. That streaked edge. That ugly blob where clean lines should be.
It’s over.
I’ve used the Higossis Brush on six projects this month. Zero touch-ups. Not one redo.
You don’t need more tools. You need control. Precision.
Confidence in your own hand.
This guide gave you both. The tool and the technique.
So grab your next project. Right now. Not tomorrow.
Not after “one more thing.”
Start with the first stroke. Use the method. Feel the difference.
You’ll see it immediately.
No guesswork. No frustration. Just clean, professional results.
And yes. You’ll actually like how it looks.
Your pride isn’t waiting for permission.
Go paint something sharp.
Then tell me how it went.
 Founder & Creative Director
There is a specific skill involved in explaining something clearly — one that is completely separate from actually knowing the subject. Norvain Tavender has both. They has spent years working with everyday beauty hacks in a hands-on capacity, and an equal amount of time figuring out how to translate that experience into writing that people with different backgrounds can actually absorb and use.
Norvain tends to approach complex subjects — Everyday Beauty Hacks, Insight Influx, Advanced Makeup Formulations being good examples — by starting with what the reader already knows, then building outward from there rather than dropping them in the deep end. It sounds like a small thing. In practice it makes a significant difference in whether someone finishes the article or abandons it halfway through. They is also good at knowing when to stop — a surprisingly underrated skill. Some writers bury useful information under so many caveats and qualifications that the point disappears. Norvain knows where the point is and gets there without too many detours.
The practical effect of all this is that people who read Norvain's work tend to come away actually capable of doing something with it. Not just vaguely informed — actually capable. For a writer working in everyday beauty hacks, that is probably the best possible outcome, and it's the standard Norvain holds they's own work to.
Founder & Creative Director
There is a specific skill involved in explaining something clearly — one that is completely separate from actually knowing the subject. Norvain Tavender has both. They has spent years working with everyday beauty hacks in a hands-on capacity, and an equal amount of time figuring out how to translate that experience into writing that people with different backgrounds can actually absorb and use.
Norvain tends to approach complex subjects — Everyday Beauty Hacks, Insight Influx, Advanced Makeup Formulations being good examples — by starting with what the reader already knows, then building outward from there rather than dropping them in the deep end. It sounds like a small thing. In practice it makes a significant difference in whether someone finishes the article or abandons it halfway through. They is also good at knowing when to stop — a surprisingly underrated skill. Some writers bury useful information under so many caveats and qualifications that the point disappears. Norvain knows where the point is and gets there without too many detours.
The practical effect of all this is that people who read Norvain's work tend to come away actually capable of doing something with it. Not just vaguely informed — actually capable. For a writer working in everyday beauty hacks, that is probably the best possible outcome, and it's the standard Norvain holds they's own work to.